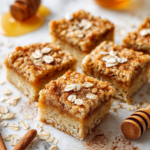
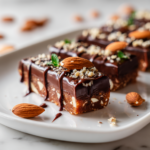
These peanut butter chocolate chip chewy bars aren’t just a snack—they’re a little piece of childhood wrapped in a chewy, gooey package. I love how each bite brings back that warm, familiar scent of peanut butter melting into sweet chocolate. Plus, they’re dead simple to whip up on a lazy afternoon when you need a quick fix of comfort.
There’s something about making these bars that makes the kitchen smell like a cozy bakery—rich peanut, melting chocolate, a hint of vanilla. They’re perfect for sharing, but honestly, I don’t mind hoarding a few for myself. Sometimes, I sneak one with a mug of cold milk when I need a moment of quiet in a hectic day.
A cook’s notes style focusing on the sentimental warmth of homemade snack bars, emphasizing their nostalgic and comforting qualities.
Why I Keep Coming Back to This Recipe
- Making these feels like a warm hug from my past.
- I love how forgiving this recipe is—you can tweak it endlessly.
- There’s a messy, joyful chaos in the kitchen when I bake these.
- Sharing these bars always sparks a little nostalgia and smiles.
A nostalgic, imperfect comfort food
- This recipe was born out of a lazy afternoon craving and a pantry full of odds and ends.
- I wanted something quick, satisfying, and not too sweet—these bars hit all those notes.
- They remind me of school lunches and weekend baking sessions with my grandma.
Background and fun facts about these chewy bars
- These bars are a simplified take on classic peanut butter bars from mid-century cookbooks.
- Chocolate chip addition became popular in the 1930s as chocolate availability increased.
- Peanut butter gained mass-market popularity in the US during the 1950s, inspiring many snack recipes.
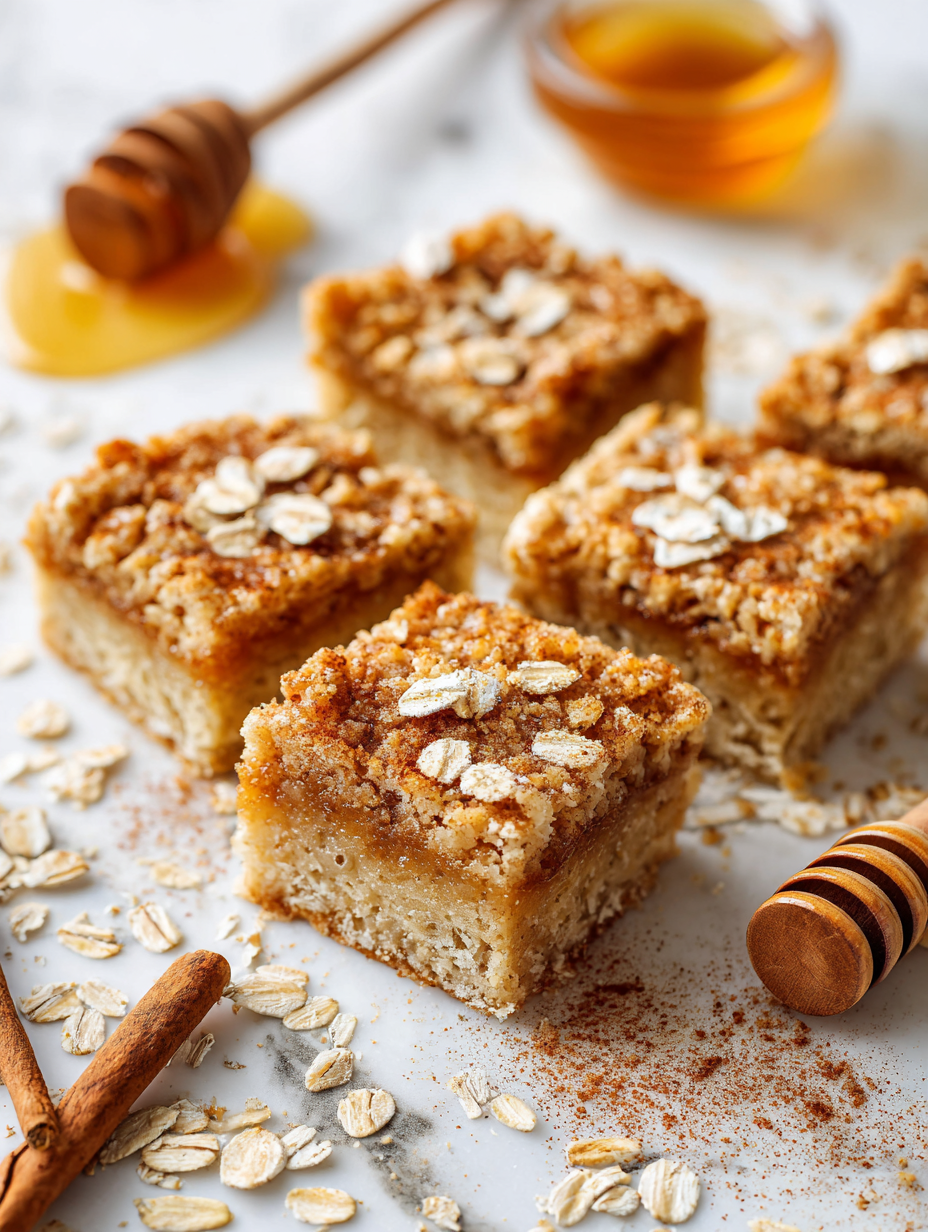
- Chewy texture relies on the balance of oats and fats, making them more satisfying than brittle cookies.
Ingredient insights and tweaks
- Peanut Butter: I love the richness of natural peanut butter—swap with almond for a different nutty note.
- Honey: Adds moisture and sweetness; maple syrup can substitute but will change flavor.
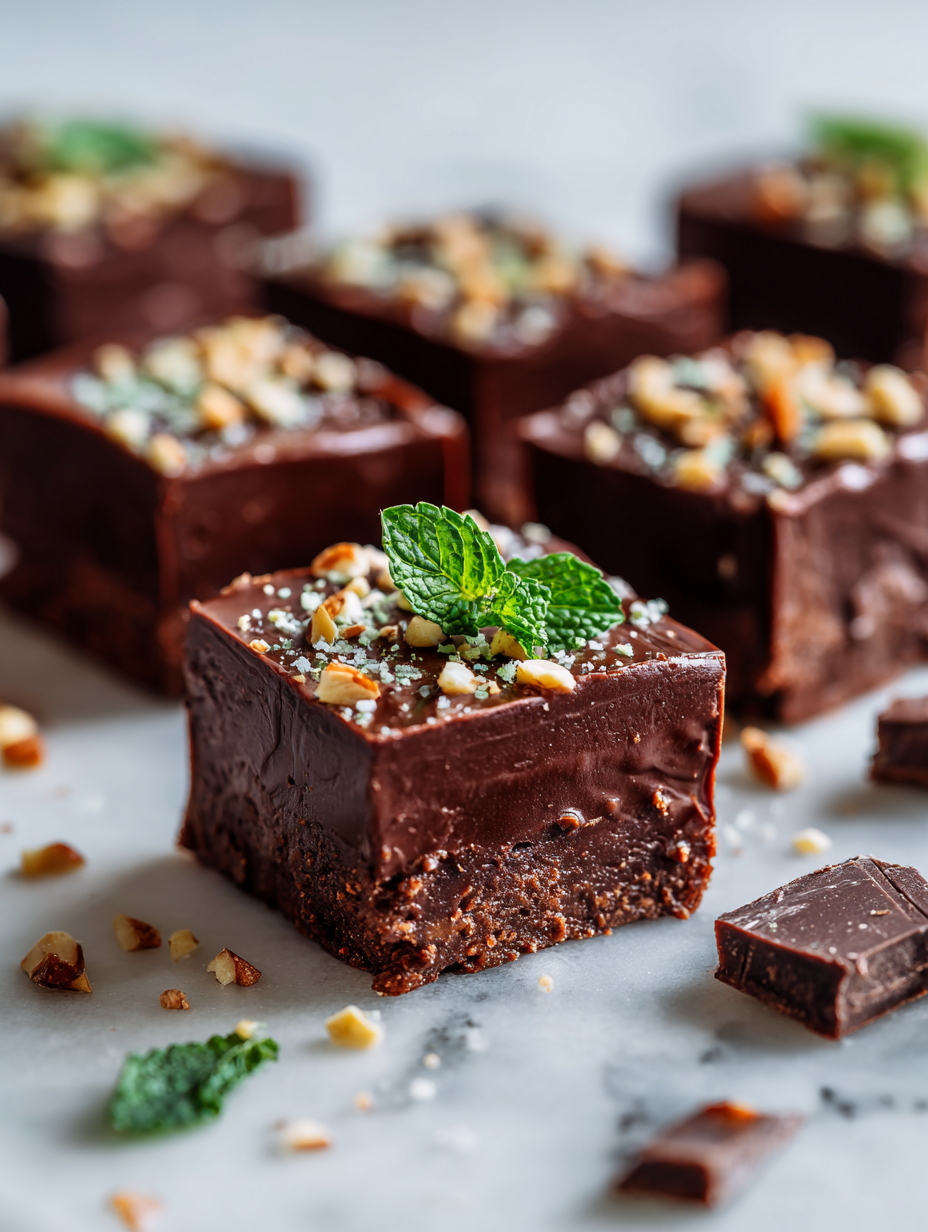
- Chocolate Chips: Semi-sweet give a balanced taste, but dark or white chocolate adds variety.
- Oats: Old-fashioned oats give chewiness; quick oats will work but alter texture.
- Flour: All-purpose keeps it simple; whole wheat adds nuttiness but makes bars denser.
Spotlight on Peanut Butter and Chocolate Chips
Peanut Butter:
- It’s the soul—rich, slightly salty, and oozy when baked, making every bite creamy.
- Second person: Use creamy for smooth blending, or crunchy for more texture and crunch.
Chocolate Chips:
- They melt just enough for pockets of gooeyness, with a smoky, sweet aroma.
- Second person: Opt for semi-sweet for balance, or dark for intensity.
Substitutions for different diets and flavors
- Dairy-Free: Use coconut oil instead of butter for richness, but expect a slight coconut flavor.
- Sweetener: Maple syrup can replace honey for a more complex sweetness.
- Flour: Almond or coconut flour can swap in, but expect changes in texture.
- Chocolate: Carob chips are a good cocoa-free alternative.
- Nuts: Chopped pecans or walnuts add crunch and flavor.
Equipment & Tools
- Mixing bowls: Combine ingredients smoothly
- Rubber spatula: Scrape down sides and fold in chips
- 9-inch square baking pan: Shape and bake the bars
- Parchment paper: Prevent sticking and easy removal
- Cooling rack: Cool bars evenly and prevent sogginess
Step-by-step guide to chewy, nutty bars
- Preheat your oven to 175°C (350°F). Line a 9-inch square baking pan with parchment paper.
- In a large bowl, mix together 1 cup of creamy peanut butter, ½ cup of honey, and ½ cup of softened butter until smooth.
- Stir in 1 teaspoon of vanilla extract, then add 2 cups of old-fashioned rolled oats and 1 cup of flour. Mix until combined.
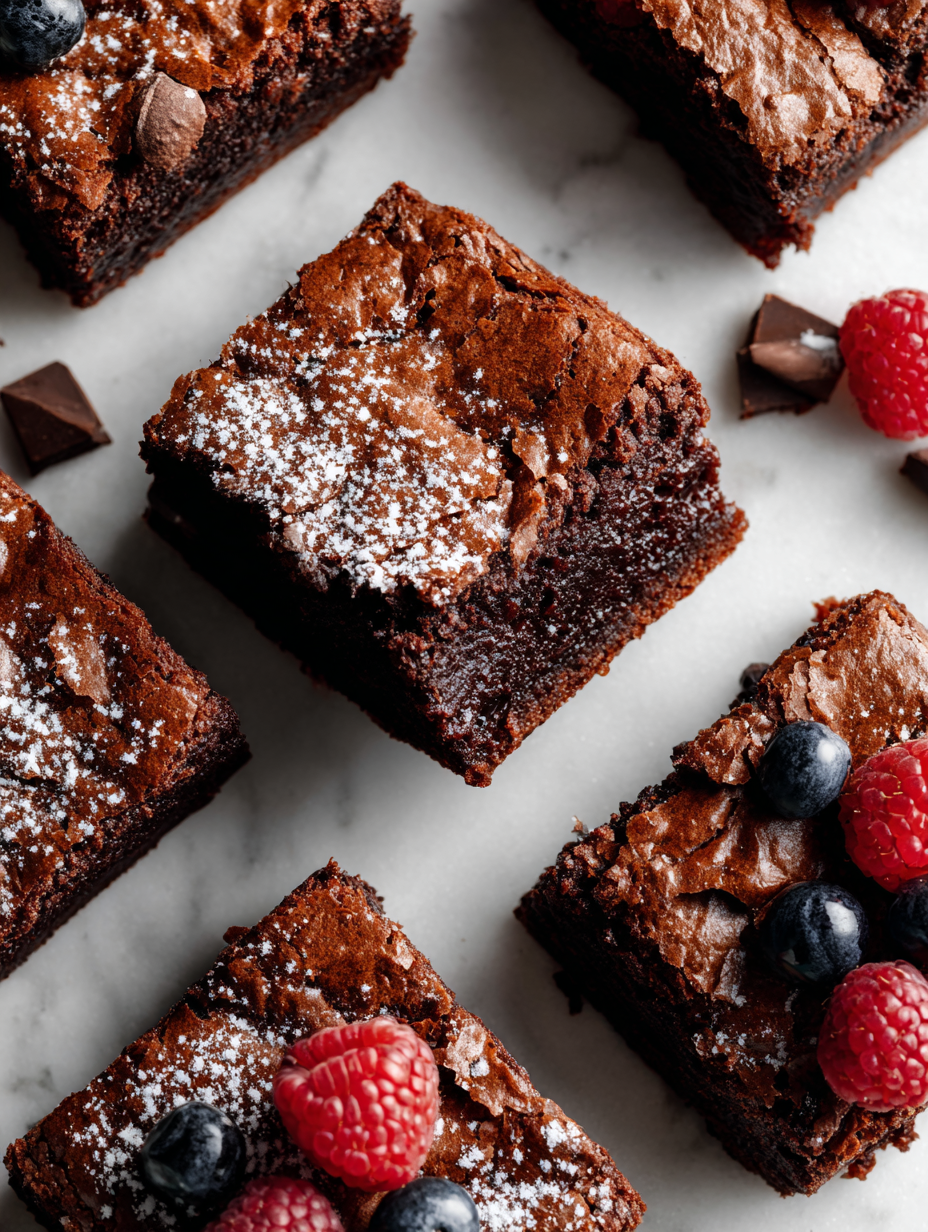
- Fold in 1 cup of chocolate chips and optional nuts or dried fruit.
- Press the mixture evenly into the prepared pan. Bake for 15–18 minutes, just until the edges turn golden.
- Remove from oven and let cool in the pan for about 10 minutes.
- While still warm, press additional chocolate chips on top if you like more melty spots.
- Allow the bars to cool completely in the pan before slicing into squares.
- For clean cuts, use a sharp knife dipped in hot water, then wipe dry between slices.
Let the bars cool completely in the pan on a wire rack. Slice with a hot knife for clean cuts. Wrap individually or store in an airtight container.
How to Know It’s Done
- Edges are golden and slightly firm
- Chocolate is melted and slightly shiny
- Center feels soft but not raw when gently pressed
Peanut Butter Chocolate Chip Chewy Bars
Ingredients
Equipment
Method
- Preheat your oven to 175°C (350°F) and line your baking pan with parchment paper, ensuring it hangs over the sides for easy removal.
- In a large bowl, combine the creamy peanut butter, honey, and softened butter. Use a spatula to mix until the mixture is smooth, creamy, and fragrant—this may take a minute or two.
- Add the vanilla extract and stir well, blending all the flavors together. The mixture should be glossy and slightly sticky to the touch.
- Stir in the rolled oats and flour, folding them into the wet mixture until everything is evenly incorporated and the dough feels thick and slightly textured.
- Gently fold in the chocolate chips, distributing them evenly throughout the dough, which will start to look chunky and inviting.
- Transfer the dough into the prepared pan and press it down evenly with your spatula, smoothing the top and compacting the mixture so it bakes evenly.
- Bake in the preheated oven for 15–18 minutes, or until the edges turn a light golden brown and the center is slightly soft but set.
- Remove the pan from the oven and let the bars cool in the pan for about 10 minutes, allowing them to firm up a bit before handling.
- For a more melty chocolate look, press a handful of extra chocolate chips onto the top while still warm, pressing gently into the surface.
- Allow the bars to cool completely on a wire rack. Once cooled, use a sharp, hot knife (dipped in hot water and wiped dry) to slice into squares for clean, neat pieces.
- Enjoy these chewy, nutty bars as a nostalgic treat — perfect for sharing or savoring quietly with a glass of milk.
Notes
Tips and tricks for perfect chewy bars
- Measure ingredients accurately to maintain the right texture.
- Use a spatula to press down the mixture evenly in the pan.
- Melt chocolate chips gently in short bursts to avoid burning.
- Cool bars completely before cutting to prevent crumbling.
- For extra chewiness, add an extra ¼ cup of oats.
Common mistakes and how to fix them
- FORGOT TO PRE-HEAT OVEN? → Preheat early to ensure even baking.
- DUMPED TOO MUCH CHOCOLATE? → Use a cookie scoop for even portions.
- OVER-TORCHED BARS? → Cover with foil and lower oven temp by 10°C (20°F).
- MISSED THE COOLING STEP? → Chill in the fridge for 20 minutes for cleaner cuts.
Quick fixes for common baking hiccups
- When the chocolate isn’t melting smoothly, microwave for 10 seconds more.
- Splash a bit of warm water if the dough feels too stiff to mix.
- Patch over cracks by pressing the dough back together.
- Shield bars with foil if they brown too quickly.
- If bars stick, line pan with parchment—no fuss, no mess.
Make-ahead and storage tips for chewy bars
- Prepare the mixture a day ahead to save time; keep refrigerated.
- Bars can be stored at room temperature in an airtight container for up to 3 days.
- In the fridge, they’ll last a week but may lose some chewiness.
- Reheat slightly in a 180°C (350°F) oven for 5 minutes if you want warm, gooey bites.
10 Practical Q&As about Peanut Butter Chocolate Chip Chewy Bars
1. Can I use crunchy peanut butter?
Use natural peanut butter for a richer, nuttier flavor; creamy works best to blend smoothly.
2. Can I substitute almond butter?
Yes, but the bars will be chunkier and less smooth—adds texture, not a bad thing.
3. Can I swap in other nut butters?
Absolutely, almond butter offers a different flavor but works just as well in the dough.
4. What if I only have baking chunks?
Chocolate chips: semi-sweet are classic, but dark or even white chocolate can work for variation.
5. Can I use chopped up chocolate bars?
Baking chunks melt a bit into the dough, creating pockets of gooey chocolate.
6. Can I add nuts or dried fruit?
Yes, just chop into small pieces so they distribute evenly—less mess, better melt.
7. How do I keep the bars chewy?
Sure, toss in some chopped pecans or dried cranberries for extra texture and flavor.
8. How long should I cool the bars?
Bake just until golden and slightly soft in the center, then cool thoroughly before slicing.
9. How do I store leftovers?
At least 30 minutes to let the chocolate set and the bars firm up perfectly.
Once cooled, these bars hold up well in an airtight container at room temperature for up to three days, or a week in the fridge. I like to wrap individual pieces in parchment for on-the-go snacks or quick bites while binge-watching. They’re a reminder that simple ingredients, combined with a little love, create something truly satisfying.
Every time I make these, I think about how a small, messy batch of baking can turn a rough day into something sweeter. They’re honest, imperfect, and just right—like a good friend. And honestly, that’s what makes them worth the occasional spill or crumb.

Hi, I’m Charlotte Hayes, the creator and storyteller behind Lost in the Aroma. If you’ve ever closed your eyes while something simmered on the stove just to take in the scent, then you already understand what this space is about. For me, aroma is memory. It is emotion. It is the first sign that something beautiful is about to be shared. Lost in the Aroma is where I bring together recipes, sensory storytelling, and my lifelong love for food. I am so glad you’re here.

Leave a Reply