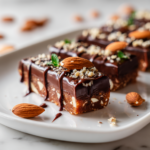
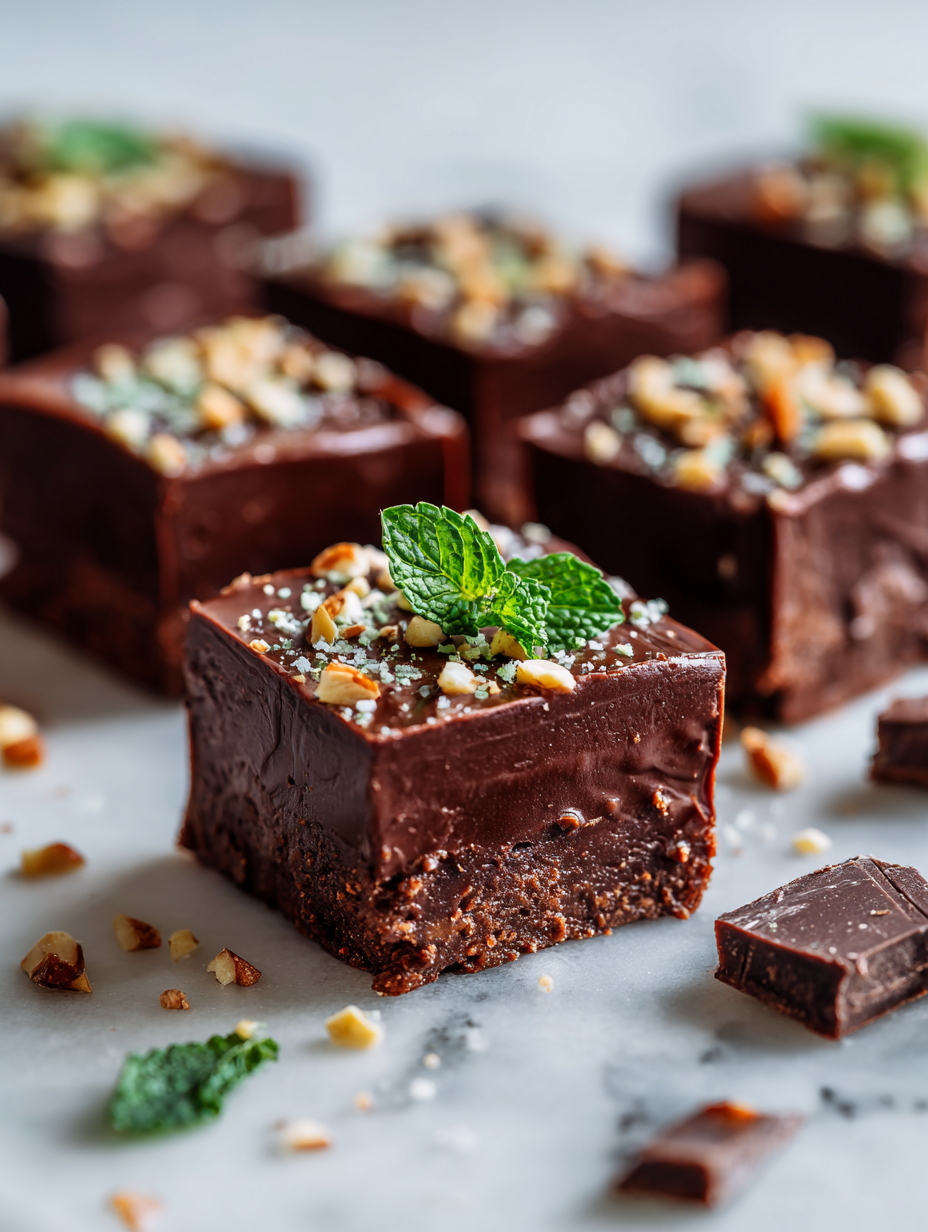
Baking or no, sometimes the simplest treats are the hardest to resist. These peanut butter cups aren’t just about sweet, creamy peanut butter encased in chocolate—they’re a little ritual, a moment of calm in a busy day. Making them at home turns a store-bought staple into a tiny act of self-care.
There’s something satisfying about melting chocolate and watching it turn glossy and smooth, about the scent of roasted peanuts and rich cocoa filling the kitchen. It’s a recipe that’s as much about the process as the end, a chance to slow down and enjoy the sensory dance of textures and flavors.
How making homemade peanut butter cups can be a mindful, sensory experience that reconnects you to childhood comfort foods.
Why I Keep Coming Back to This Classic
- This recipe is my go-to when I need a quick, satisfying treat.
- I love how the smell of melting chocolate fills my kitchen with comfort.
- Making these with my kids brings back childhood memories of simple joys.
- I always feel a little proud when I pop a perfectly shiny cup out of the mold.
My personal story with peanut butter cups
- I once tried to make gourmet truffles, but ended up craving something simpler—peanut butter cups hit that nostalgic spot. It’s a recipe I keep coming back to because it’s forgiving and customizable.
- The key is in the chocolate’s shine and the richness of the peanut butter. It’s a little messy, but that’s part of the charm.
- I love experimenting with different toppings—sea salt, crushed nuts, even a drizzle of caramel.
A brief history and fun facts about peanut butter cups
- The first commercial peanut butter cups were introduced by Reese’s in 1928.
- Peanut butter cups gained popularity as a fun, portable treat during World War II.
- Chocolate and peanut butter pairing was once considered an American innovation, now beloved worldwide.
- Homemade versions allow you to customize flavors, like adding a pinch of chili or vanilla.
- Using natural peanut butter enhances the flavor complexity, making each bite more dynamic.
Ingredient breakdown and tips
- Chocolate: I prefer a mix of dark and milk for balanced sweetness. Use higher cacao content for depth.
- Peanut Butter: Creamy natural peanut butter works best—smooth, oozy, with a roasted aroma. Swap for almond butter for a different nutty flavor.
- Honey or Maple Syrup: Adds just a touch of sweetness and helps bind the filling—use sparingly to keep texture.
- Salt: A pinch elevates flavor—sea salt flakes give a nice crunch and contrast.
- Coconut Oil: Helps chocolate melt smoothly and adds sheen—skip if allergic, but it makes a difference.
Spotlight on Chocolate and Peanut Butter
Peanut Butter: Creamy and sticky, with a sweet, roasted aroma. It becomes gooey when warmed, so handle with care.:
- Chocolate: Snaps when broken, melts with a silky feel, and smells like cocoa heaven.
- It can seize if overheated—temper carefully for a glossy shell.
- Look for a smooth, shiny surface—less waxy, more flavorful.
Chocolate: Dark, milk, or even white—each brings a different mood. Temper for a shiny shell.:
- Peanut butter: Natural oils separate—stir well before use. It’s the backbone of flavor and texture.
- A runny peanut butter makes filling easier—thick one needs warming or softening.
- The more roasted the peanuts, the richer the taste—look for deep, brownish hue.
Substitutions to customize your peanut butter cups
- Dairy-Free: Use coconut oil-based chocolate—melts well and adds coconut aroma.
- Sweetener: Substitute honey or agave for maple syrup—adjust for sweetness and texture.
- Nut-Free: Try seed butters like sunflower or tahini—rich and smooth, with a nutty note.
- Vegan: Use vegan chocolate and skip any dairy-based ingredients.
- Extra Flavors: Add cinnamon or chili powder to the peanut butter for a spicy kick.
Equipment & Tools
- Silicone mold or mini muffin tin: Shape the peanut butter cups
- Double boiler or microwave-safe bowl: Gently melt chocolate
- Spoon or piping bag: Fill molds neatly
- Spatula or small offset spatula: Smooth out the tops
- Parchment paper: Ease removal and cleanup
Step-by-step guide to perfect homemade peanut butter cups
- Line your mold: Place parchment paper in a silicone or metal mold. This makes removal easier.
- Melt the chocolate: Use a double boiler or microwave in short bursts, stirring until smooth and glossy.
- Pour a layer: Spoon about 1-2 teaspoons of melted chocolate into each mold cavity, tilting to coat evenly. Chill for 5 minutes.
- Mix the filling: Combine peanut butter, a pinch of salt, and a drizzle of honey or maple syrup if desired. Stir until smooth.
- Fill the cups: Drop a spoonful of peanut butter mixture into each mold. Press gently to flatten.
- Cover with chocolate: Spoon more melted chocolate over the peanut butter, ensuring it’s fully covered. Chill for 30 minutes.
- Check for doneness: The chocolate should be set, shiny, and firm to the touch. If not, chill a bit longer.
- Remove and serve: Gently pop the cups out of the mold. Let sit at room temperature for a few minutes for a softer bite.
Let the cups sit at room temperature for 5 minutes before eating. Keep refrigerated if not served immediately, but best enjoyed slightly softened.
How to Know It’s Done
- Chocolate is glossy and smooth before pouring.
- Filling is evenly distributed and not spilling over.
- Chocolate shells are fully set and shiny after chilling.
Homemade Peanut Butter Cups
Ingredients
Equipment
Method
- Line your silicone mold or mini muffin tin with parchment paper for easy removal.
- Gently melt the chocolate using a double boiler or microwave in short bursts, stirring until smooth and glossy. You should hear a gentle bubbling or see a silky, shiny liquid forming.
- Spoon about 1-2 teaspoons of melted chocolate into each mold cavity, tilting the mold slightly to coat the sides evenly. Chill for 5 minutes until the chocolate begins to set.
- While the chocolate chills, stir the peanut butter with a pinch of salt and a tablespoon of honey or maple syrup until smooth and creamy. It should be soft and easy to scoop.
- Remove the mold from the fridge and drop a small spoonful of the peanut butter mixture into each chocolate shell. Gently press down to flatten the filling slightly.
- Cover the peanut butter layer with more melted chocolate, spooning until each mold cavity is fully filled and the filling is completely enclosed. Chill for 30 minutes until the chocolate is firm and shiny.
- Once set, gently pop the peanut butter cups out of the mold. If desired, sprinkle a few flakes of sea salt on top for added flavor and texture.
- Let the cups sit at room temperature for a few minutes before serving to enjoy their shiny, smooth finish and creamy interior. Store leftovers in an airtight container in the fridge or freezer.
Expert tips for perfect peanut butter cups
- Use quality chocolate—melts smoother and tastes better.
- Temper chocolate for a shiny, crisp shell—separate and cool it properly.
- Chill in stages—initial 5-minute layers prevent mixing and mess.
- Keep peanut butter cold—easier to handle and less messy.
- Use a small spatula—spreads and smooths without disturbing layers.
Common pitfalls and how to fix them
- FORGOT to temper the chocolate? Re-melt and cool to 31°C (88°F) for a shiny finish.
- DUMPED too much peanut butter? Use a smaller spoon to avoid overflowing.
- OVER-TORCHED the chocolate? Add a spoonful of coconut oil to regain gloss.
- SEIZED chocolate? Start over with fresh, gently melted chocolate and a splash of warm milk or cream.
Fast fixes to common peanut butter cup mishaps
- When chocolate is grainy, add a tiny bit of warm coconut oil and stir.
- If the filling is too runny, chill it for 10 minutes before filling.
- Splash a pinch of salt if the peanut butter tastes flat.
- Patch cracks in chocolate shells by melting extra chocolate and sealing the break.
- Shield melting chocolate with a damp towel if it overheats in the microwave.
Tips for prepping and storing your peanut butter cups
- Prepare the cups up to a week ahead; keep in an airtight container in the fridge.
- Freeze for up to a month—perfect for stash-and-serve moments.
- Chilling intensifies the chocolate flavor and firms the texture.
- Reheat briefly at room temperature or in the microwave if they feel too firm—watch for melting.
10 Practical Q&As About Making Peanut Butter Cups at Home
1. What kind of chocolate should I use?
Use good quality chocolate, as it melts smoothly and tastes better. Cheap chocolate can seize or taste waxy.
2. How do I melt chocolate without ruining it?
Warm the chocolate gently over low heat or in short bursts in the microwave. Too hot and it burns or becomes grainy.
3. Can I make the chocolate glossy?
Mix in a bit of coconut oil or shortening to make the chocolate shiny and easier to pour.
4. Which peanut butter works best?
Use natural peanut butter for a richer, more complex flavor. If you prefer a sweeter taste, go for creamy, sweetened peanut butter.
5. How long should I chill the peanut butter cups?
Chill the cups in the fridge for at least an hour to set firm. If rushed, pop them in the freezer for 15 minutes.
6. What’s the best way to unmold the cups?
Line your mold with parchment for easy removal. Use a silicone mold if you want perfectly shaped cups.
7. Should I add salt to the filling?
Add a pinch of salt to the peanut butter mixture for depth. A tiny sprinkle of flaky sea salt on top enhances flavor.
8. How do I fill the molds evenly?
Use a small spoon or pipette to fill the molds neatly. A toothpick helps to smooth out the tops.
9. How should I store the peanut butter cups?
Store in an airtight container in the fridge for up to a week. For longer, freeze for up to a month.
10. Why do my chocolate shells crack?
If the chocolate cracks when you bite, it’s either too cold or not tempered right. Warm it slightly and re-melt.
Once you get the hang of it, these peanut butter cups become a quick fix for a craving, a small celebration of simple ingredients. They’re not just treats—they’re a little reminder that the best desserts are often the easiest to make. Enjoy the quiet pleasure of a homemade sweet, crafted with care and a little bit of messy love.
steps_section

Hi, I’m Charlotte Hayes, the creator and storyteller behind Lost in the Aroma. If you’ve ever closed your eyes while something simmered on the stove just to take in the scent, then you already understand what this space is about. For me, aroma is memory. It is emotion. It is the first sign that something beautiful is about to be shared. Lost in the Aroma is where I bring together recipes, sensory storytelling, and my lifelong love for food. I am so glad you’re here.

Leave a Reply