I’ve found that the secret to a truly satisfying chicken breast isn’t just about the marinade or sauce but how you handle it at the start. Sometimes, I like to give it a gentle pounding—to tenderize and help it cook evenly. It’s a small step that makes a big difference, especially when I want something quick and reliable but with a bit of a twist.
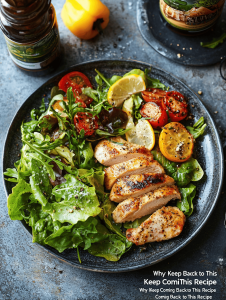
Why I Keep Coming Back to This Recipe
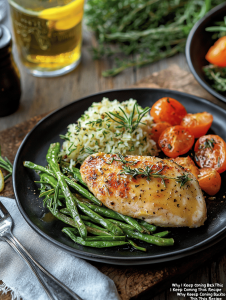
It’s straightforward, forgiving, and endlessly customizable. When I crave comfort and quick results, this chicken never lets me down. Plus, the crispy edges and juicy center are a reminder that simple can be spectacular, especially when seasoned just right.
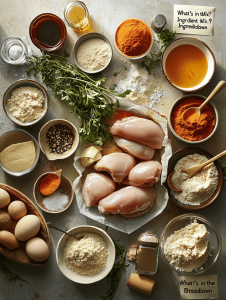
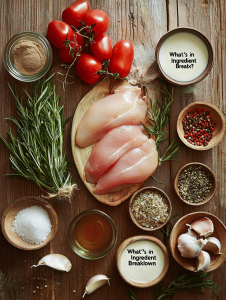
What’s in the Mix? Ingredient Breakdown
- Chicken breast: Lean, tender, and quick-cooking; the star of this dish.
- Salt: Enhances natural flavors, don’t skimp here.
- Black pepper: Adds just enough heat and aroma.
- Smoked paprika: Gives a smoky depth, optional but recommended.
- Olive oil: For searing, it’s the quiet hero of flavor.
- Lemon zest or juice: Brightens the dish with a zing, essential for freshness.
- Herbs (thyme or rosemary): Fresh or dried, they lift the flavor profile.
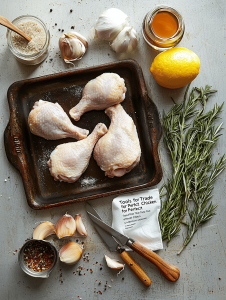
Tools of the Trade for Perfect Chicken
- Sharp knife: For trimming and slicing without tearing the meat.
- Cutting board: Provides a sturdy surface for prep.
- Meat mallet or heavy pan: Tenderizes the chicken for even cooking.
- Skillet or frying pan: To sear and cook the chicken evenly.
- Tongs or spatula: To flip and handle the chicken safely.
- Instant-read thermometer: Checks internal temperature for doneness.
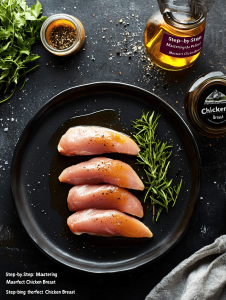
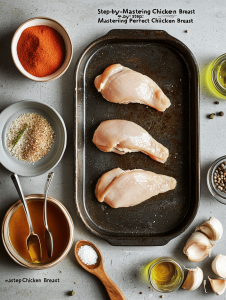
Step-by-Step: Mastering the Perfect Chicken Breast
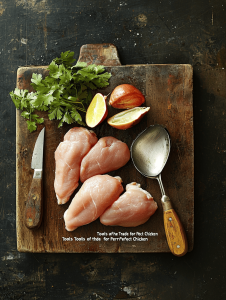
Step 1: Start with a clean, sharp knife and a stable cutting board. Pat the chicken dry with paper towels.

Step 2: Tenderize the chicken slightly with a meat mallet or the bottom of a heavy pan for even cooking.
Step 3: Season generously with salt, pepper, and a pinch of smoked paprika for depth.
Step 4: Heat a skillet over medium-high heat, adding a splash of oil until shimmering.

Step 5: Cook the chicken for 4-6 minutes per side, depending on thickness, until golden and juices run clear.
Step 6: Rest the chicken for 5 minutes before slicing to keep it juicy.
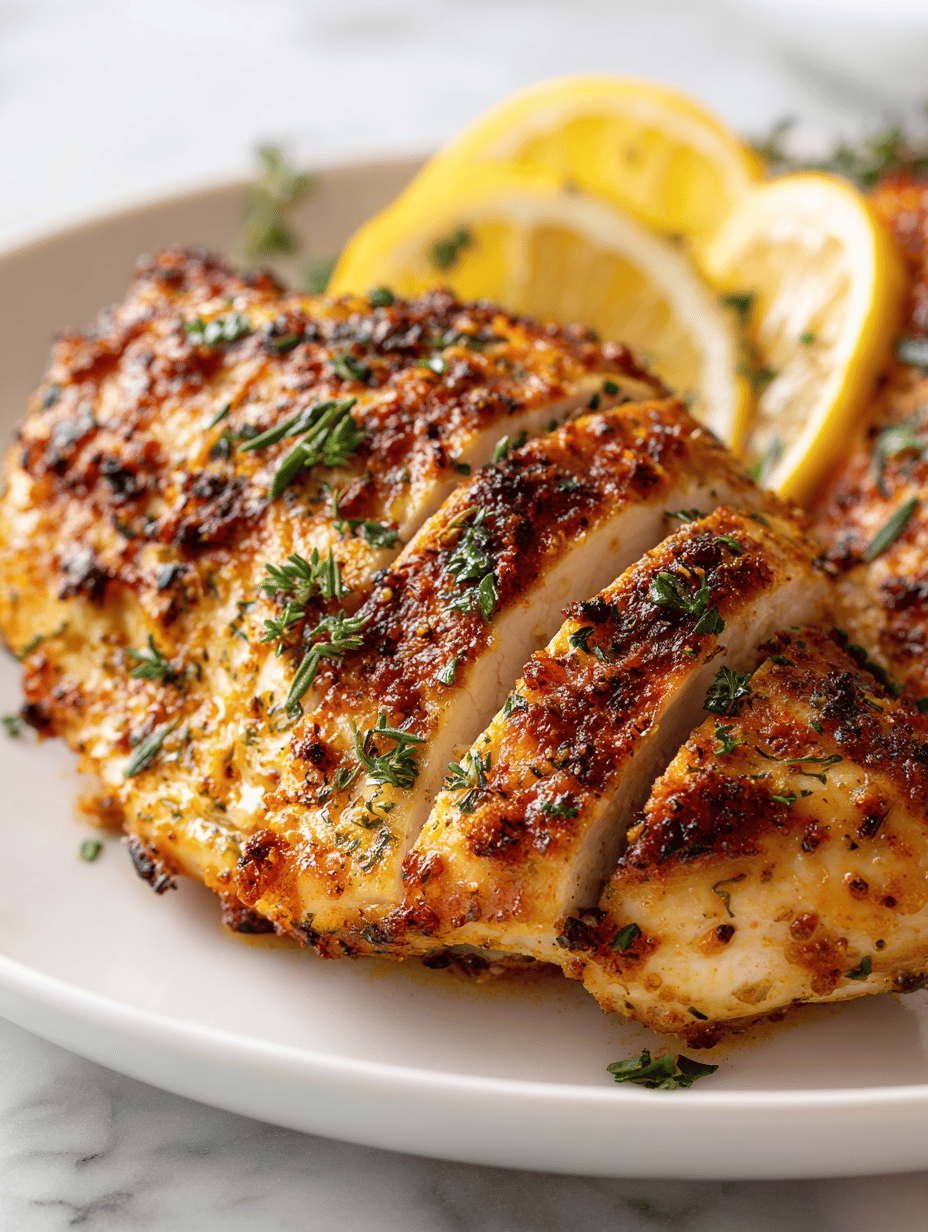
Step 7: Slice against the grain, serve with your favorite sides, and enjoy the crispy edges and juicy center.
Cooking Checkpoints & Tips
- Chicken should be golden on the outside and slightly firm but not hard when pressed.
- Internal temperature should hit 74°C (165°F) for safety and juiciness.
- Juices should run clear when pierced, not pink or bloody.
Common Mistakes & How to Fix Them
- Not drying the chicken leads to steaming instead of searing.? Pat the chicken dry before seasoning to ensure a crispy exterior.
- Overly hot pan burns the outside while inside remains raw.? Cook thicker parts on lower heat or cover the pan briefly.
- Cutting immediately causes juices to escape, dry out the meat.? Let the chicken rest after cooking.
- Guessing doneness can lead to dry, tough chicken.? Use a thermometer to avoid overcooking.
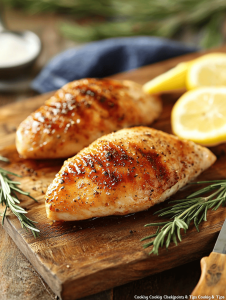
Juicy Pan-Seared Chicken Breast
Ingredients
Equipment
Method
- Pat the chicken breasts dry with paper towels, then place them on a cutting board. Use a meat mallet or heavy pan to gently pound each piece to an even thickness, about 1 inch, which helps them cook uniformly and stay juicy.
- Sprinkle salt, black pepper, and smoked paprika evenly over both sides of each chicken breast, pressing lightly to adhere the seasonings.
- Heat a skillet over medium-high heat and add a tablespoon of olive oil. When the oil shimmers and starts to gently smoke, it’s ready for the chicken.
- Place the chicken breasts carefully into the hot skillet. Sear without moving for about 4-6 minutes until the edges turn golden brown and develop a crispy crust.
- Flip the chicken breasts using tongs or a spatula, then cook the other side for another 4-6 minutes, until the outside is golden and the internal temperature reaches 74°C (165°F).
- During the last minute of cooking, sprinkle lemon zest or squeeze lemon juice over the chicken, and add a sprig of thyme or rosemary to infuse fresh herbal aroma.
- Remove the chicken from the skillet and transfer to a plate. Let it rest for 5 minutes to allow the juices to redistribute, keeping the meat tender and juicy.
- Slice the chicken against the grain into thick strips, revealing the juicy, tender interior with a crispy exterior.
- Serve immediately with your favorite sides and enjoy the crispy edges and moist, flavorful center of this perfectly seared chicken breast.

Hi, I’m Charlotte Hayes, the creator and storyteller behind Lost in the Aroma. If you’ve ever closed your eyes while something simmered on the stove just to take in the scent, then you already understand what this space is about. For me, aroma is memory. It is emotion. It is the first sign that something beautiful is about to be shared. Lost in the Aroma is where I bring together recipes, sensory storytelling, and my lifelong love for food. I am so glad you’re here.


Leave a Reply