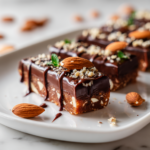
Making chocolates at home often feels intimidating, but these truffles are surprisingly forgiving. I like to think of them as tiny bites of comfort, perfect for nibbling when you need a quick hit of something sweet and salty. The best part? They come together with ingredients I usually have around, and they’re done in less than an hour.
There’s a quiet magic in transforming simple pantry staples into something that feels fancy and indulgent. The smooth, melt-in-your-mouth texture, the salty-sweet punch, all wrapped in a shiny chocolate shell—these are little moments of joy you can whip up anytime. Plus, they’re just fun to roll and dip, a bit messy but totally worth it.
A cook’s notes on making decadent, homemade chocolate peanut butter truffles, focusing on the sensory journey and practical tips.
Why these truffles matter to me
- I love how quick these come together—no fancy equipment needed.
- There’s something satisfying about rolling and dipping each one, a tactile break from screens.
- I always keep a stash in the fridge for impromptu sweet cravings.
- Sharing these with friends sparks conversations about childhood treats and grown-up flavors.
- Making them reminds me that simple ingredients can create moments of pure indulgence.
The story behind these irresistible bites
- Growing up, I was obsessed with peanut butter cups, but I wanted to make my own version that was richer and more customizable.
- The process of mixing, rolling, and dipping feels almost meditative, a way to reconnect with the simple joy of cooking.
- I experimented with different textures—crushed cookies, oatmeal, even coconut—to find what felt best.
- Now, this recipe is my go-to for when I want a quick, satisfying treat that feels homemade and special.
A little history and fun facts about these truffles
- These truffles are inspired by classic American candy, but with a homemade, artisanal twist.
- Chocolate and peanut butter became a beloved combo in the 20th century, especially during the Great Depression.
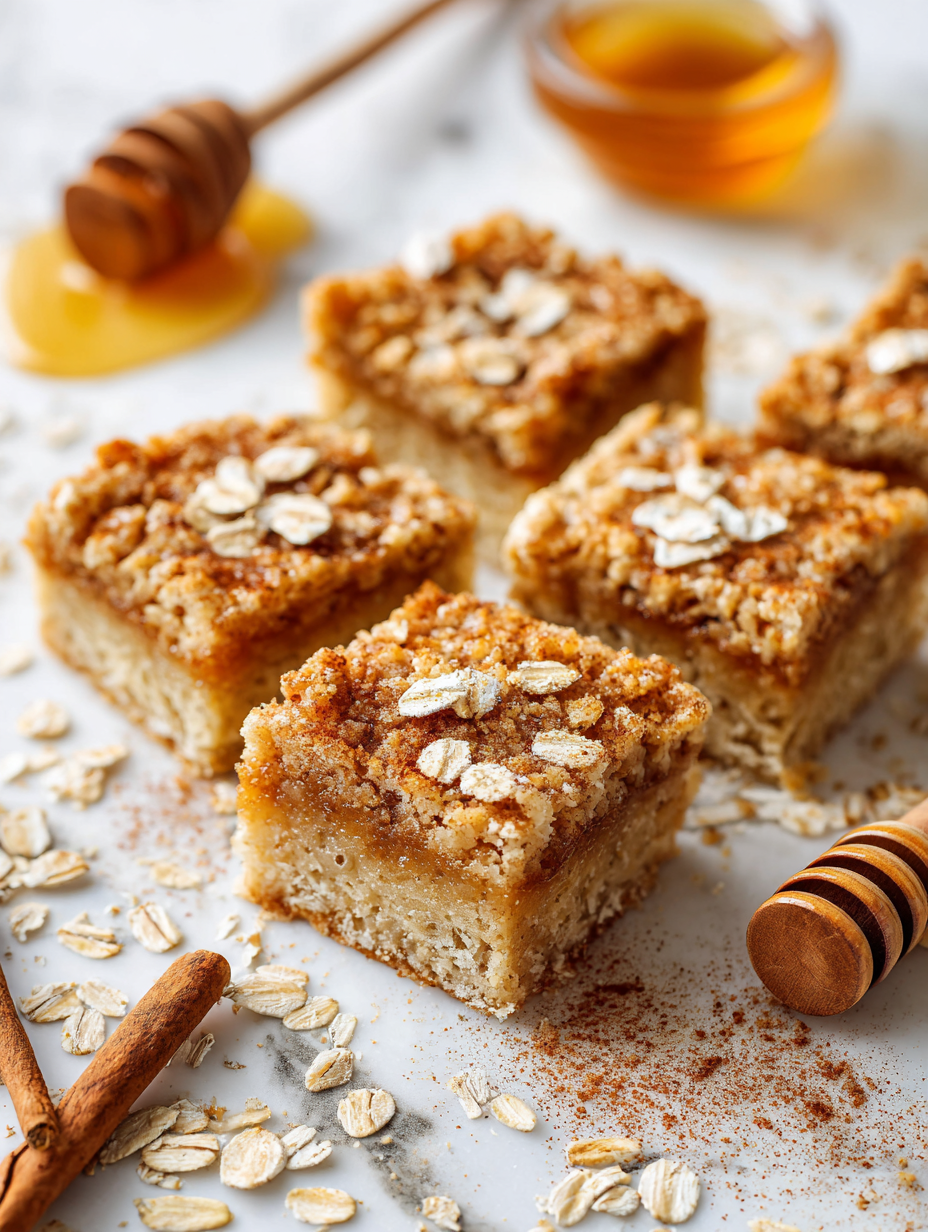
- Using crushed graham crackers adds a nostalgic, cookie-like texture and flavor.
- Tempering chocolate makes the shell glossy and crack-resistant, but isn’t strictly necessary.
Ingredient insights to tweak and perfect your truffles
- Peanut butter: I use creamy, slightly oily peanut butter for easy mixing and a rich flavor. Swap with almond or cashew butter for a different nutty twist.
- Chocolate: I prefer dark chocolate with 70% cacao, but milk chocolate works for a sweeter, milder shell. Watch for quality; good chocolate melts better and looks glossy.
- Crushed graham crackers: They add texture and a hint of sweetness, but crushed cookies or even crushed pretzels can work. Adjust sugar if using sweeter substitutes.
- Honey: It helps bind and adds a touch of extra flavor—can substitute with maple syrup or agave for different notes.
- Sea salt: Just a pinch elevates everything, but you could skip or replace with flaky sea salt for a crunch.
Spotlight on peanut butter and chocolate
Peanut Butter:
- Peanut butter brings a salty, creamy richness that defines these truffles. It should be smooth and oozing a bit when softened.
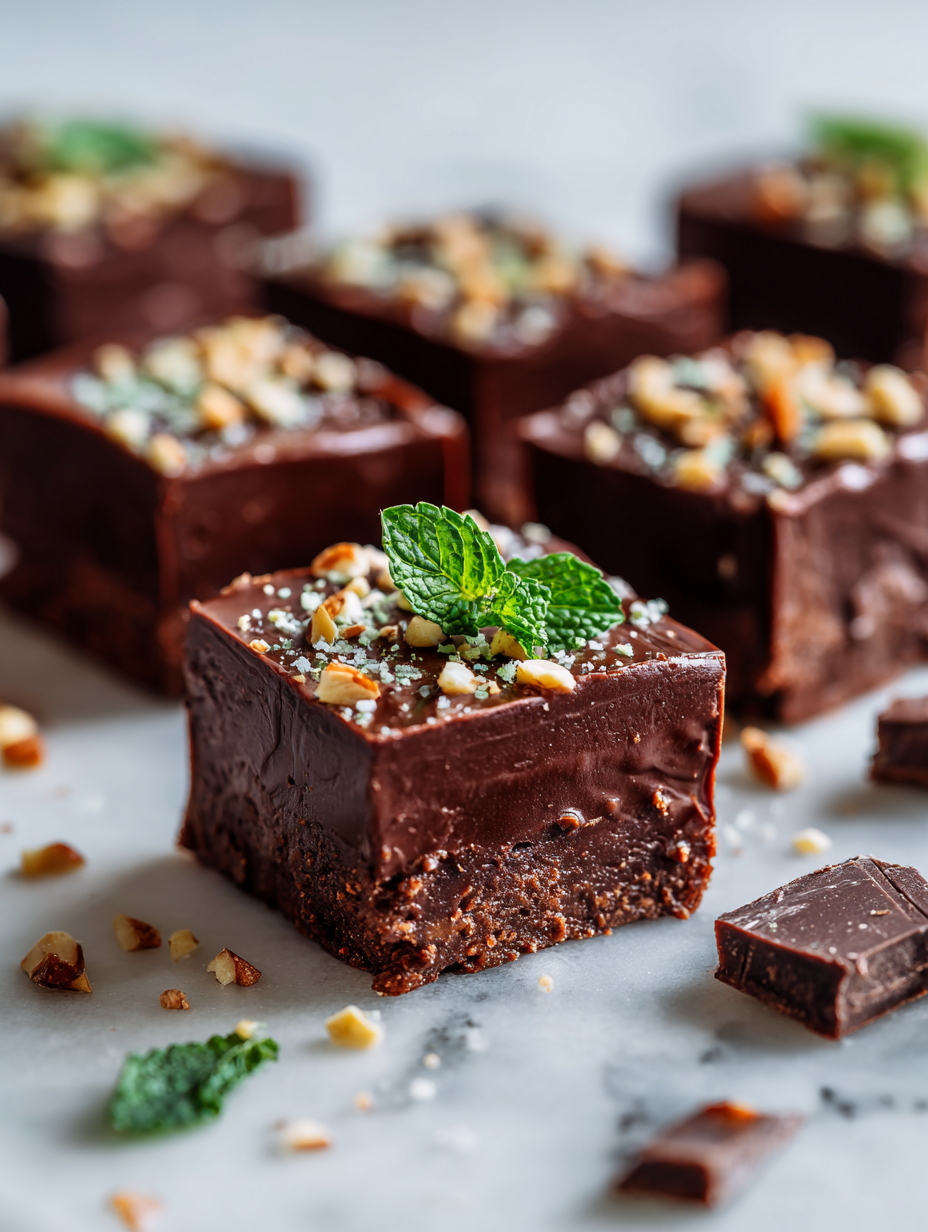
- The chocolate shell creates a satisfying crackle when you bite in, with a glossy, inviting finish. Tempered chocolate shimmers and snaps.
Chocolate:
- Good quality chocolate melts smoothly, with a deep cocoa scent that fills the kitchen. It’s the key to a shiny, crack-free coating.
- The chocolate should be melted gently, avoiding overheating, which can cause dullness or seizing.
Smart substitutions for different diets and tastes
- Dairy-Free: Swap dairy-free chocolate and almond or coconut butter for a creamy, vegan version.
- Gluten-Free: Use gluten-free graham crackers or crushed gluten-free cookies.
- Sugar-Free: Incorporate sugar substitutes like erythritol or stevia, but be aware of texture differences.
- Nut-Free: Use sunflower seed butter and nut-free chocolate to accommodate allergies.
- Extra flavor: Add a splash of vanilla or a dash of cinnamon into the mixture for more depth.
Equipment & Tools
- Mixing bowl: Combine ingredients and chill the mixture
- Double boiler or microwave-safe bowl: Melt chocolate evenly
- Fork or dipping tool: Coat truffles in melted chocolate
- Parchment paper: Prevent sticking and easy cleanup
- Small scoop or teaspoon: Portion uniform truffles
Step-by-step guide to perfect chocolate peanut butter truffles
- Prepare your workspace with a baking sheet lined with parchment and a bowl of melted chocolate.
- In a mixing bowl, combine softened peanut butter, crushed graham crackers, and a splash of honey.
- Mix until smooth, then chill in the fridge for 30 minutes until firm.
- Scoop out small portions, roll into balls about 1 inch diameter.
- Place the balls on the parchment, then chill again for 10 minutes.
- Melt the chocolate over a double boiler or in short bursts in the microwave, stirring until smooth.
- Dip each peanut butter ball into the melted chocolate, using a fork to coat evenly.
- Place dipped truffles back on parchment, then drizzle with extra chocolate or sprinkle sea salt.
- Let sit at room temperature for 10 minutes, or refrigerate for 20 to set the coating.
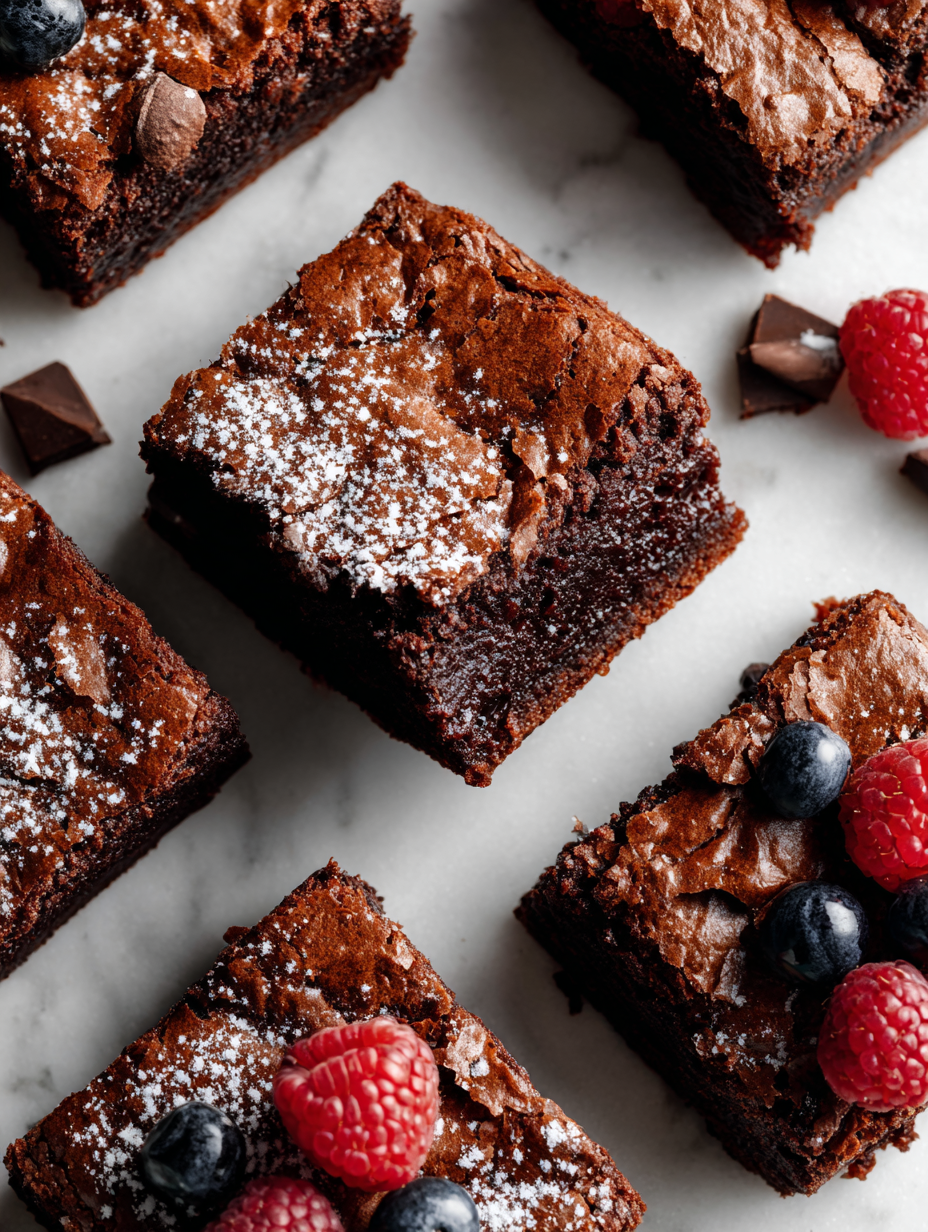
- Serve at room temp, feeling the chocolate’s shiny snap with each bite.
Let the coated truffles sit at room temperature for 10 minutes or refrigerate for 20 minutes to fully set.
How to Know It’s Done
- Chocolate coating is shiny and firm to the touch.
- Truffles hold their shape when gently pressed.
- Chocolate coating is smooth and crack-free after setting.
Chocolate Peanut Butter Truffles
Ingredients
Equipment
Method
- Place a parchment-lined baking sheet nearby and set your melting chocolate in a double boiler or microwave-safe bowl.
- In a mixing bowl, combine the softened peanut butter, crushed graham crackers, and honey. Mix until the mixture becomes smooth and cohesive, with no dry crumbs visible.
- Chill the mixture in the fridge for about 30 minutes until it firms up enough to handle easily.
- Using a small scoop or teaspoon, portion out small amounts of the chilled mixture and roll them between your palms to form about 1-inch diameter balls.
- Place the formed balls on the parchment-lined baking sheet and refrigerate again for 10 minutes to firm up.
- Meanwhile, melt the chocolate chips with the coconut oil in the double boiler or microwave, stirring until the mixture is smooth and glossy.
- Using a fork or dipping tool, carefully dip each peanut butter ball into the melted chocolate, turning to coat evenly. Tap gently to remove excess chocolate.
- Place the dipped truffles back on the parchment sheet. Sprinkle a tiny pinch of sea salt on top of each for a flavor boost.
- Allow the chocolate coating to set at room temperature for about 10 minutes, or refrigerate for 20 minutes for a quicker finish.
- Once set, enjoy these shiny, crackly, melt-in-your-mouth bites, perfect for sharing or keeping in the fridge for a quick sweet fix.
Pro tips for perfect truffles
- Use room temperature peanut butter for easier mixing.
- Chill the mixture in small portions to prevent melting when rolling.
- Dip quickly to avoid thick chocolate coats and cracks.
- Use a fork to lift and drip excess chocolate for a smooth finish.
- Add a pinch of sea salt on top for a flavor boost.
Common pitfalls and how to fix them
- FORGOT to chill the mixture? Pop it back in the fridge for 15 more minutes.
- DUMPED too much chocolate on? Use a clean toothpick to remove excess before it sets.
- OVER-TORCHED the chocolate? Add a teaspoon of vegetable oil to loosen it.
- FAILED to get a shiny finish? Try tempering the chocolate or chill the dipped truffles briefly.
Fast fixes for common issues
- When chocolate is too thick, microwave for 10 seconds and stir.
- Splash a teaspoon of coconut oil into melted chocolate for extra shine.
- Patch cracked shells by gently reheating and smoothing with a spatula.
- Shield delicate truffles with extra chocolate drizzle to hide imperfections.
- When in doubt, refrigerate to firm up and fix surface cracks.
Make-ahead and storage tips for best results
- Prepare the mixture and roll into balls ahead, then freeze for up to 2 weeks.
- Keep dipped truffles in an airtight container in the fridge for 5-7 days.
- The flavors deepen slightly after a day or two in the fridge.
- Reheat slightly at room temperature for 10 minutes before serving for optimal softness.
10 Practical Q&As about Chocolate Peanut Butter Truffles
1. What kind of chocolate should I use?
Use good quality chocolate for a rich, smooth melt that coats the truffles beautifully.
2. How long should I chill the mixture?
Chill the mixture for at least 30 minutes so it’s firm enough to roll easily.
3. Can I use natural peanut butter?
Peanut butter with a slightly oily texture helps the truffles hold together better.
4. How do I get a smooth chocolate coating?
Dip the truffles in melted chocolate quickly to avoid cracks and ensure a shiny coat.
5. How long do these last?
Store in an airtight container in the fridge for up to a week, or freeze for longer.
6. How do I make the truffles look pretty?
Use a small cookie scoop or teaspoon to portion for uniform size.
7. Should I temper the chocolate?
Temper the chocolate for a glossy, crack-free finish or melt and dip directly.
8. Can I add toppings?
Add a pinch of sea salt on top to enhance the chocolate and peanut butter flavors.
9. How do I speed up setting?
Let the dipped truffles sit at room temperature for a few minutes to set the chocolate.
Once you get the hang of it, these truffles become a go-to treat. They’re perfect for gifting, or just keeping around for when a craving hits. I find myself reaching for one, then another—each bite a tiny, salty-sweet escape.
They remind me that good things don’t need to be complicated. Sometimes, it’s just about the right ingredients and a little bit of patience and care. And in the end, that’s what makes these truffles feel like a little victory in the kitchen.

Hi, I’m Charlotte Hayes, the creator and storyteller behind Lost in the Aroma. If you’ve ever closed your eyes while something simmered on the stove just to take in the scent, then you already understand what this space is about. For me, aroma is memory. It is emotion. It is the first sign that something beautiful is about to be shared. Lost in the Aroma is where I bring together recipes, sensory storytelling, and my lifelong love for food. I am so glad you’re here.

Leave a Reply