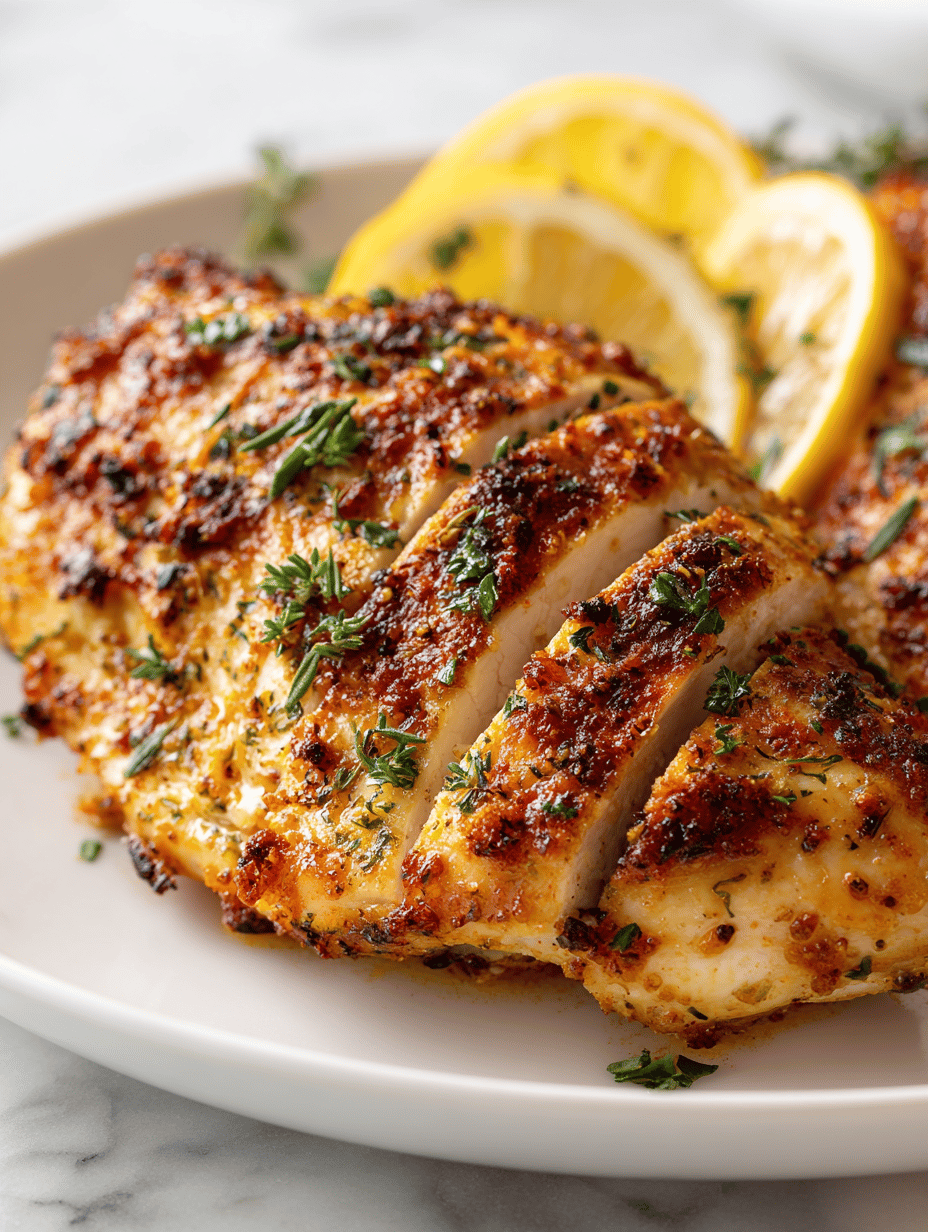
Main Course


Hi! I’m Charlotte Hayes!
Hi, I’m Charlotte Hayes, the creator and storyteller behind Lost in the Aroma.
If you’ve ever closed your eyes while something simmered on the stove just to take in the scent, then you already understand what this space is about. For me, aroma is memory. It is emotion. It is the first sign that something beautiful is about to be shared.
Lost in the Aroma is where I bring together recipes, sensory storytelling, and my lifelong love for food. I am so glad you’re here.
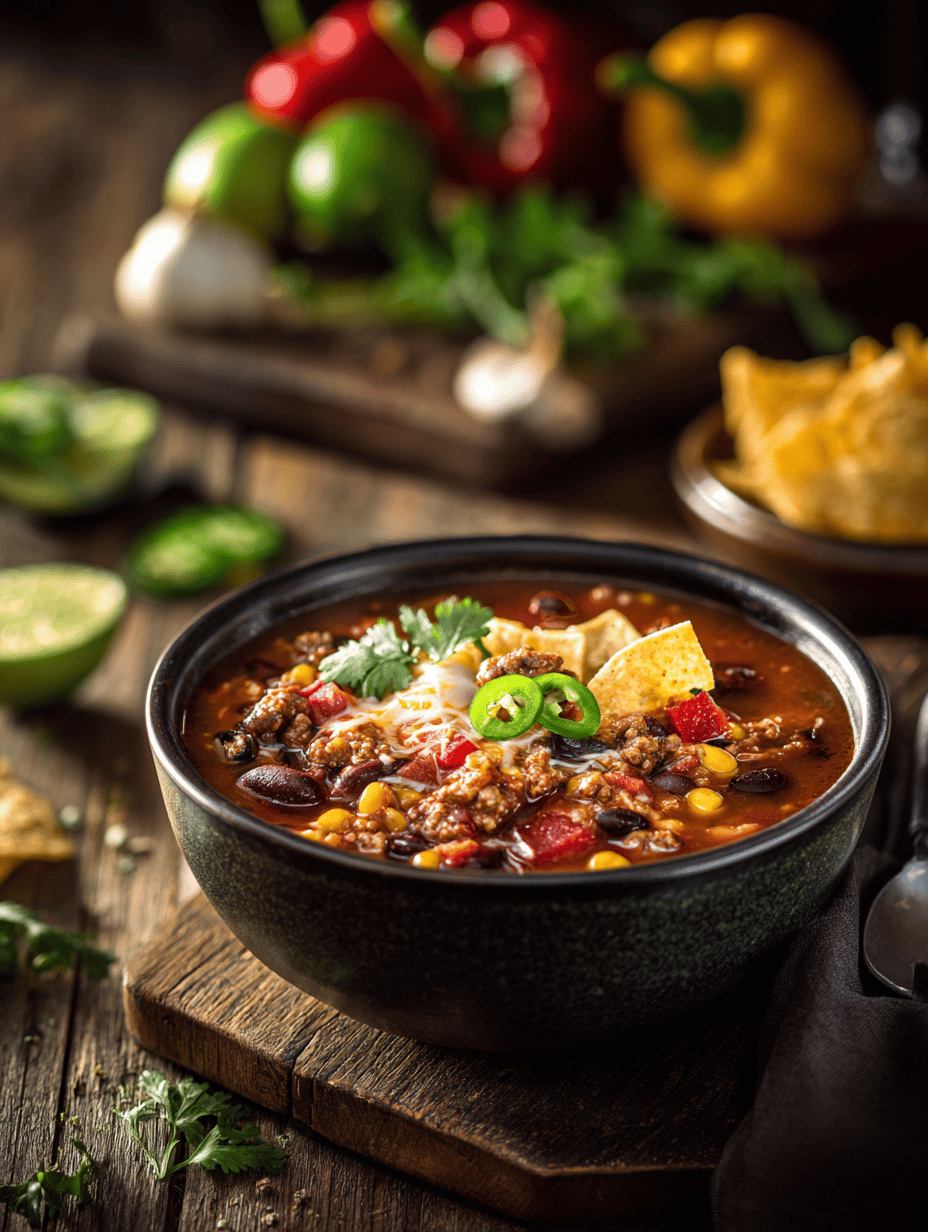
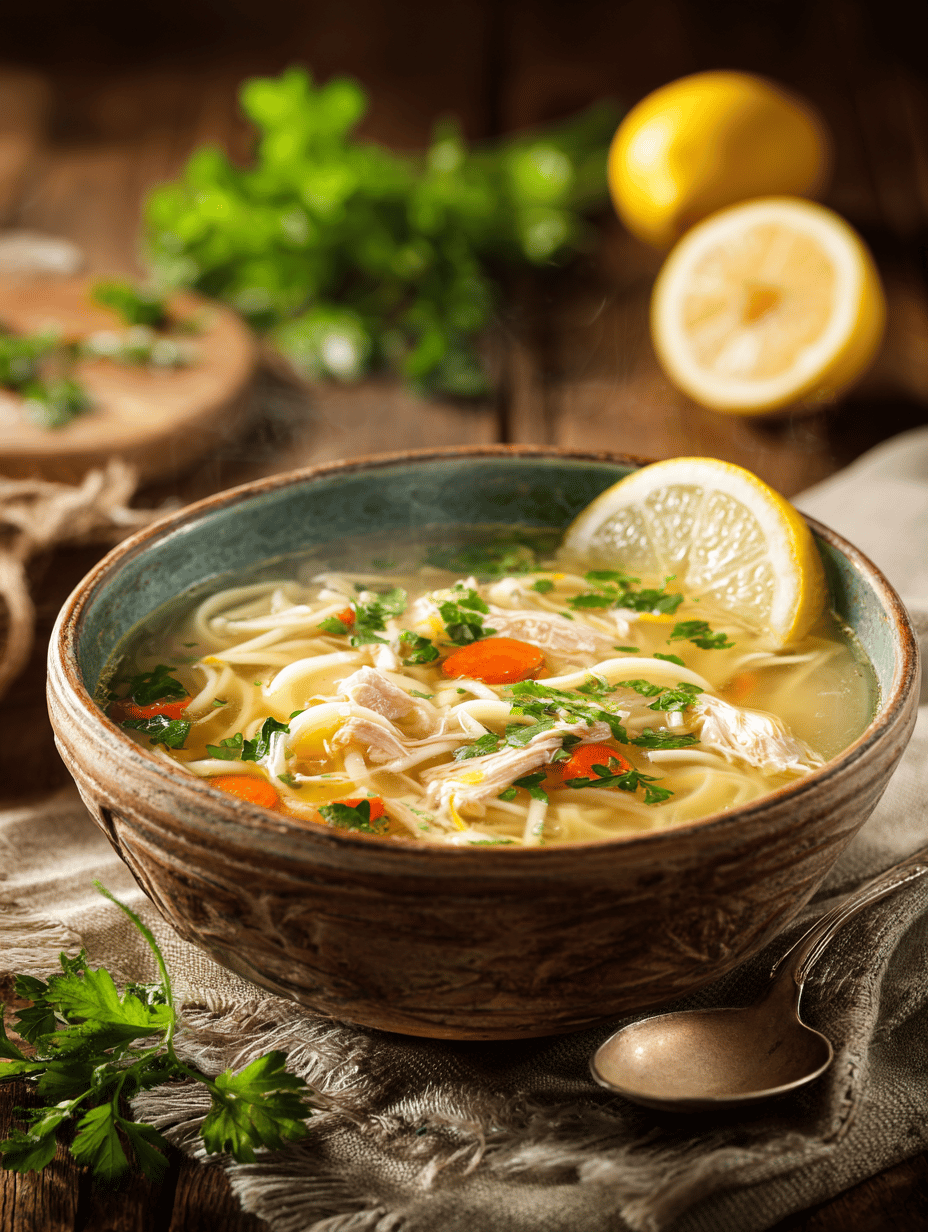
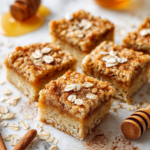
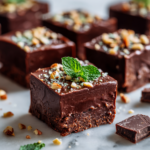
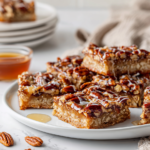
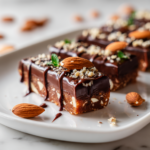
Latest Recipes

Search
Subscribe
Get exclusive access to recipes and cooking tips!